VocalForge is an open-source toolkit written in Python 🐍 that is meant to cut down the time to create datasets for, TTS models, hotword detection models, and more so you can spend more time training, and less time sifting through audio data.
Using Nvidia's NEMO, PyAnnote, CTC segmentation , OpenAI's Whisper, this repo will take you from raw audio to a fully formatted dataset, refining both the audio and text automatically.
NOTE: While this does reduce time on spent on dataset curation, verifying the output at each step is important as it isn't perfect
this is a very much an experimental release, so bugs and updates will be frequent

-
⬇️ Download audio from a YouTube playlist (perfect for podcasts/interviews) OR input your own raw audio files (wav format)
-
🎵 Remove Non Speech Data
-
🗣🗣 Remove Overlapping Speech
-
👥 Split Audio File Into Speakers
-
👤 Isolate the same speaker across multiple files (voice verification)
-
🧽 Use DeepFilterNet to reduce background noise
-
🧮 Normalize Audio
-
➡️ Export with user defined parameters
-
📜 Batch transcribe text using OpenAI's Whisper
-
🧮 Run text normalization
-
🫶 Use CTC segmentation to line up text to audio
-
🖖 Split audio based on quality of CTC segmentation confidence
-
✅ Generate a metadata.csv and dataset in the format of LJSpeech
-
📊 View the waveforms of your audio using a custom version of WaveSurfer.js
-
📋Verify the text created with Whisper Transcription
-
✍️ Edit and verify VocalForge generated timestamps to align with the audio
-
🔃 Sort by confidence to delete or modify the least confident alignments
 )?raw=true)
-
Python 3.8 has been tested, newer versions should work
-
CUDA is required to run all models
-
a Hugging Face account is required (it's free and super helpful!)
#install system libraries on linux

apt-get update && apt-get install -y libsndfile1 ffmpeg
wget http://es.archive.ubuntu.com/ubuntu/pool/main/libf/libffi/libffi7_3.3-4_amd64.deb
sudo dpkg -i libffi7_3.3-4_amd64.deb

#install VocalForge and it's dependices
conda create -n VocalForge python=3.8 pytorch=-1.11.0 torchvision=0.12.0 torchaudio=0.11.0 cudatoolkit=11.3.1 -c pytorch

pip install -qq https://github.com/pyannote/pyannote-audio/archive/refs/heads/develop.zip

conda activate VocalForge

#to install the audio protion of VocalForge from pip
pip install VocalForge[audio]


#to install source

git clone https://github.com/rioharper/VocalForge
cd VocalForge
pip install -r requirements.txt


#enter huggingface token, token can be found at https://huggingface.co/settings/tokens

huggingface-cli login
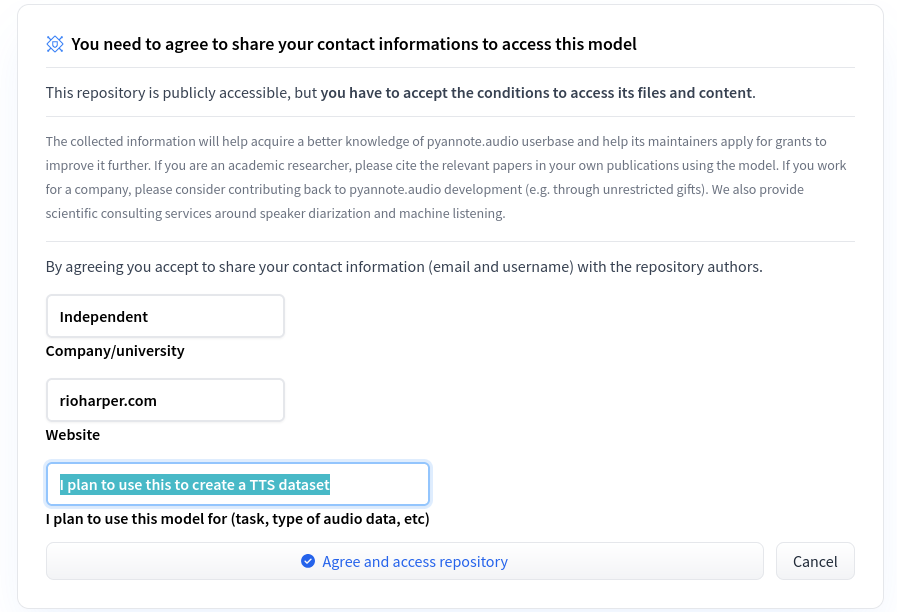
Pyannote models need to be "signed up for" in Hugging Face for research purposes. Don't worry, all it asks for is your purpose, website and organization. The following models will have to be manually visited and given the appropriate info:
VCAuditor Uses NodeJS, and is a browser based GUI tool. To allow for the launching of js files, we will need to install NodeJS into our conda environment and install the necessary libraries:
conda install -c conda-forge nodejs
cd VCAuditor
npm install
npm run
And with this, localhost:3000 should have VCAuditor online! To load up your VocalForge project, make sure to include the text files under the "Segments" folder, and the audio files from the "Input_Audio" folder.
Some helpful tips for you as you comb through your data:
- To play audio, press the spacebar. If for some reason the spacebar does not start the audio, switch tabs, and then go back to the tab you were on. This is a browser security issue, but that should fix it.
- To loop a region, shift-click the region of your choosing, and it will play from the exact start time.
- When you feel like a region is verified, press the checkmark on the region and it will mark it as manually verified
- If a region is so off that you can't simply fix it, you can press the trash icon on the region or the table to remove it
- You can drag around the table window if it is blocking something
Once you are ready to export a verified segment file, then press the export button on the table, and a file will download. This file does not include the multiple normalization text versions that the original file had.
![[]]
from VocalForge.text.normalize_text import NormalizeText


normalize = NormalizeText(

input_dir= os.path.join(work_path, 'transcription'),

out_dir= os.path.join(work_path, 'processed'),

audio_dir= os.path.join(work_path, 'input_audio'),

)


normalize.run()-
Refactor functions for API and toolkit support
-
"Sync" datasets with the metadata file if audio clips are deleted after being generated
-
Add a step in the audio refinement processs to remove emotional speech (in progresss)
-
Create a model to remove non-speech utterences and portions with background music (in progresss)
-
Update code documentation
-
Add other normalization methods for audio
-
Add other dataset formats for generation
-
Utilize TTS models to automatically generate datasets, with audio augmentation to create diversity
-
Create a Google Colab Notebook